

Our Blog
Trust your brake repair needs to Cottman Transmission and Total Auto Care in Columbia, SC for expert service. Visit us today for reliable automotive care!
Keep your vehicle running smoothly with expert belts & hoses repair from Cottman Transmission and Total Auto Care in Columbia, SC. Visit us today!
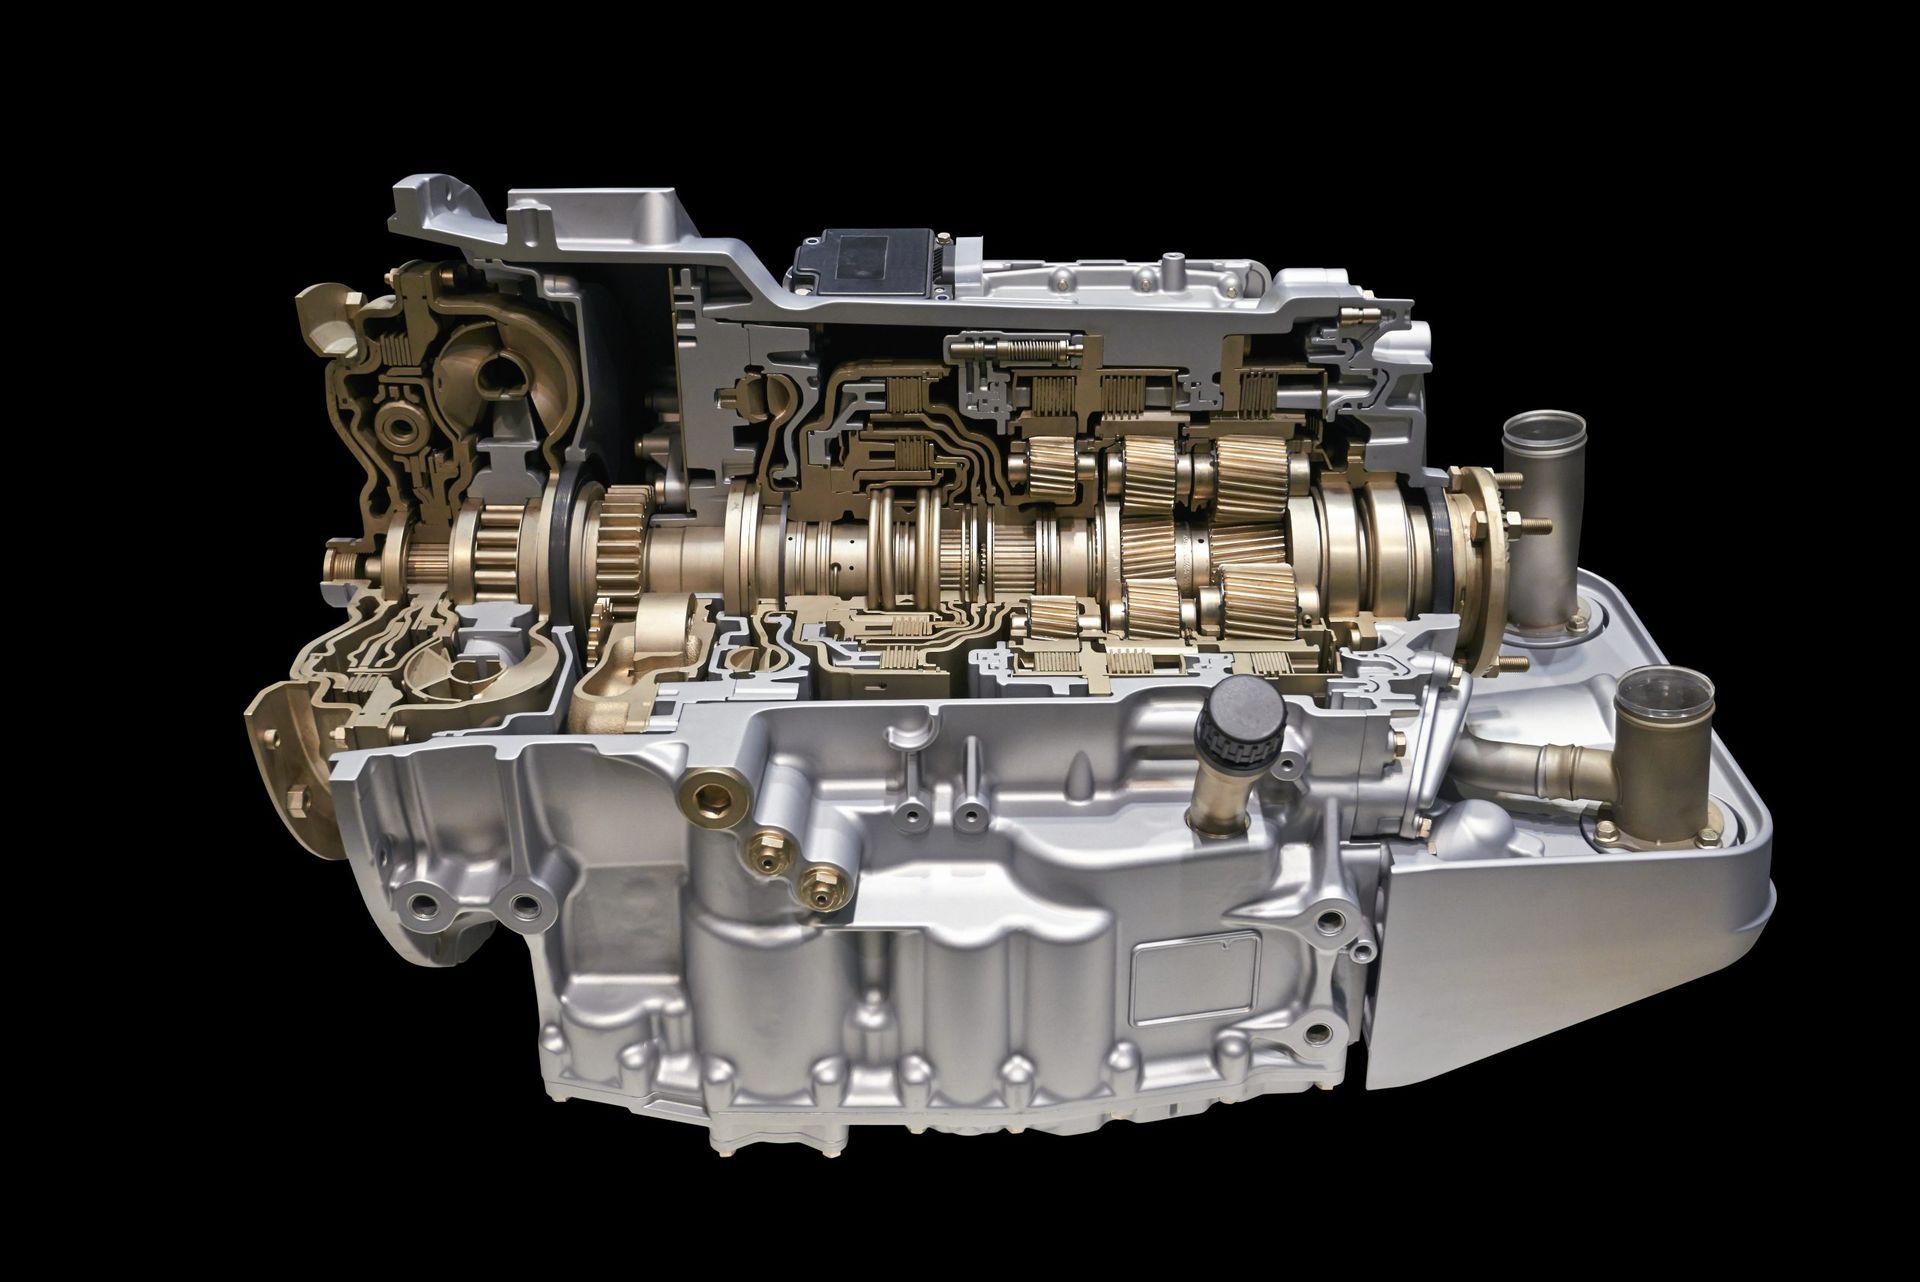
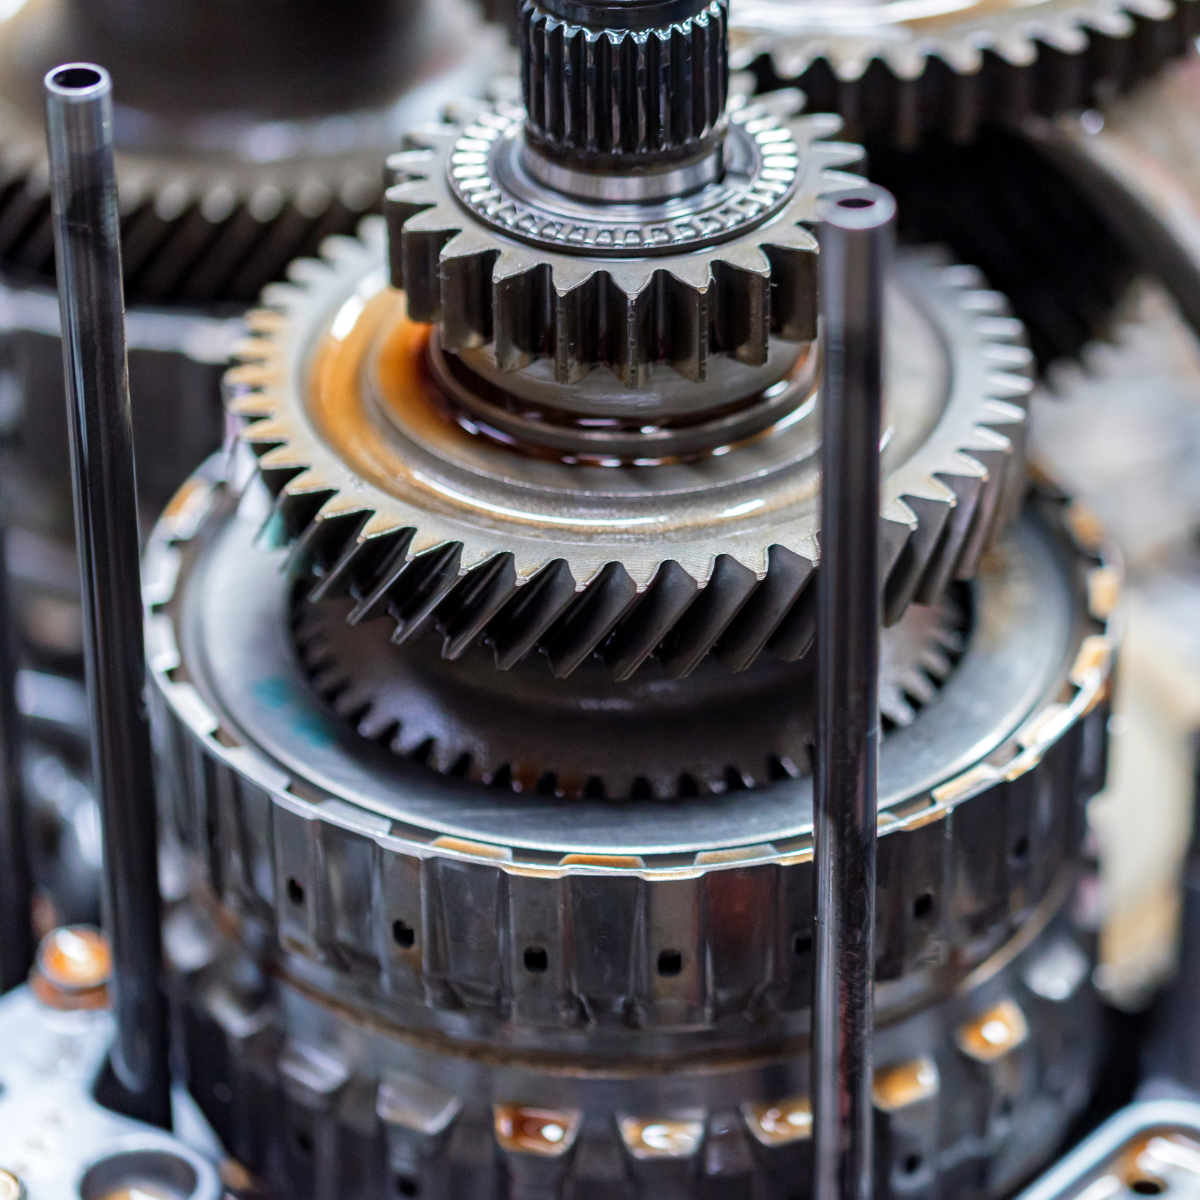
A vehicle’s automatic transmission is often referred to as the heart of its powertrain system. Like a symphony conductor, it orchestrates the intricate movement of gears, ensuring a seamless driving experience. When this essential component falters, the consequences can range from minor inconveniences to catastrophic failure.
Your vehicle’s transmission is its beating heart, responsible for seamlessly transferring power from the engine to the wheels and keeping your car running smoothly. Whether you’re navigating Columbia’s vibrant streets or heading out on a road trip, a healthy transmission is key to reliable performance. At Cottman of Columbia, we specialize in providing expert transmission.
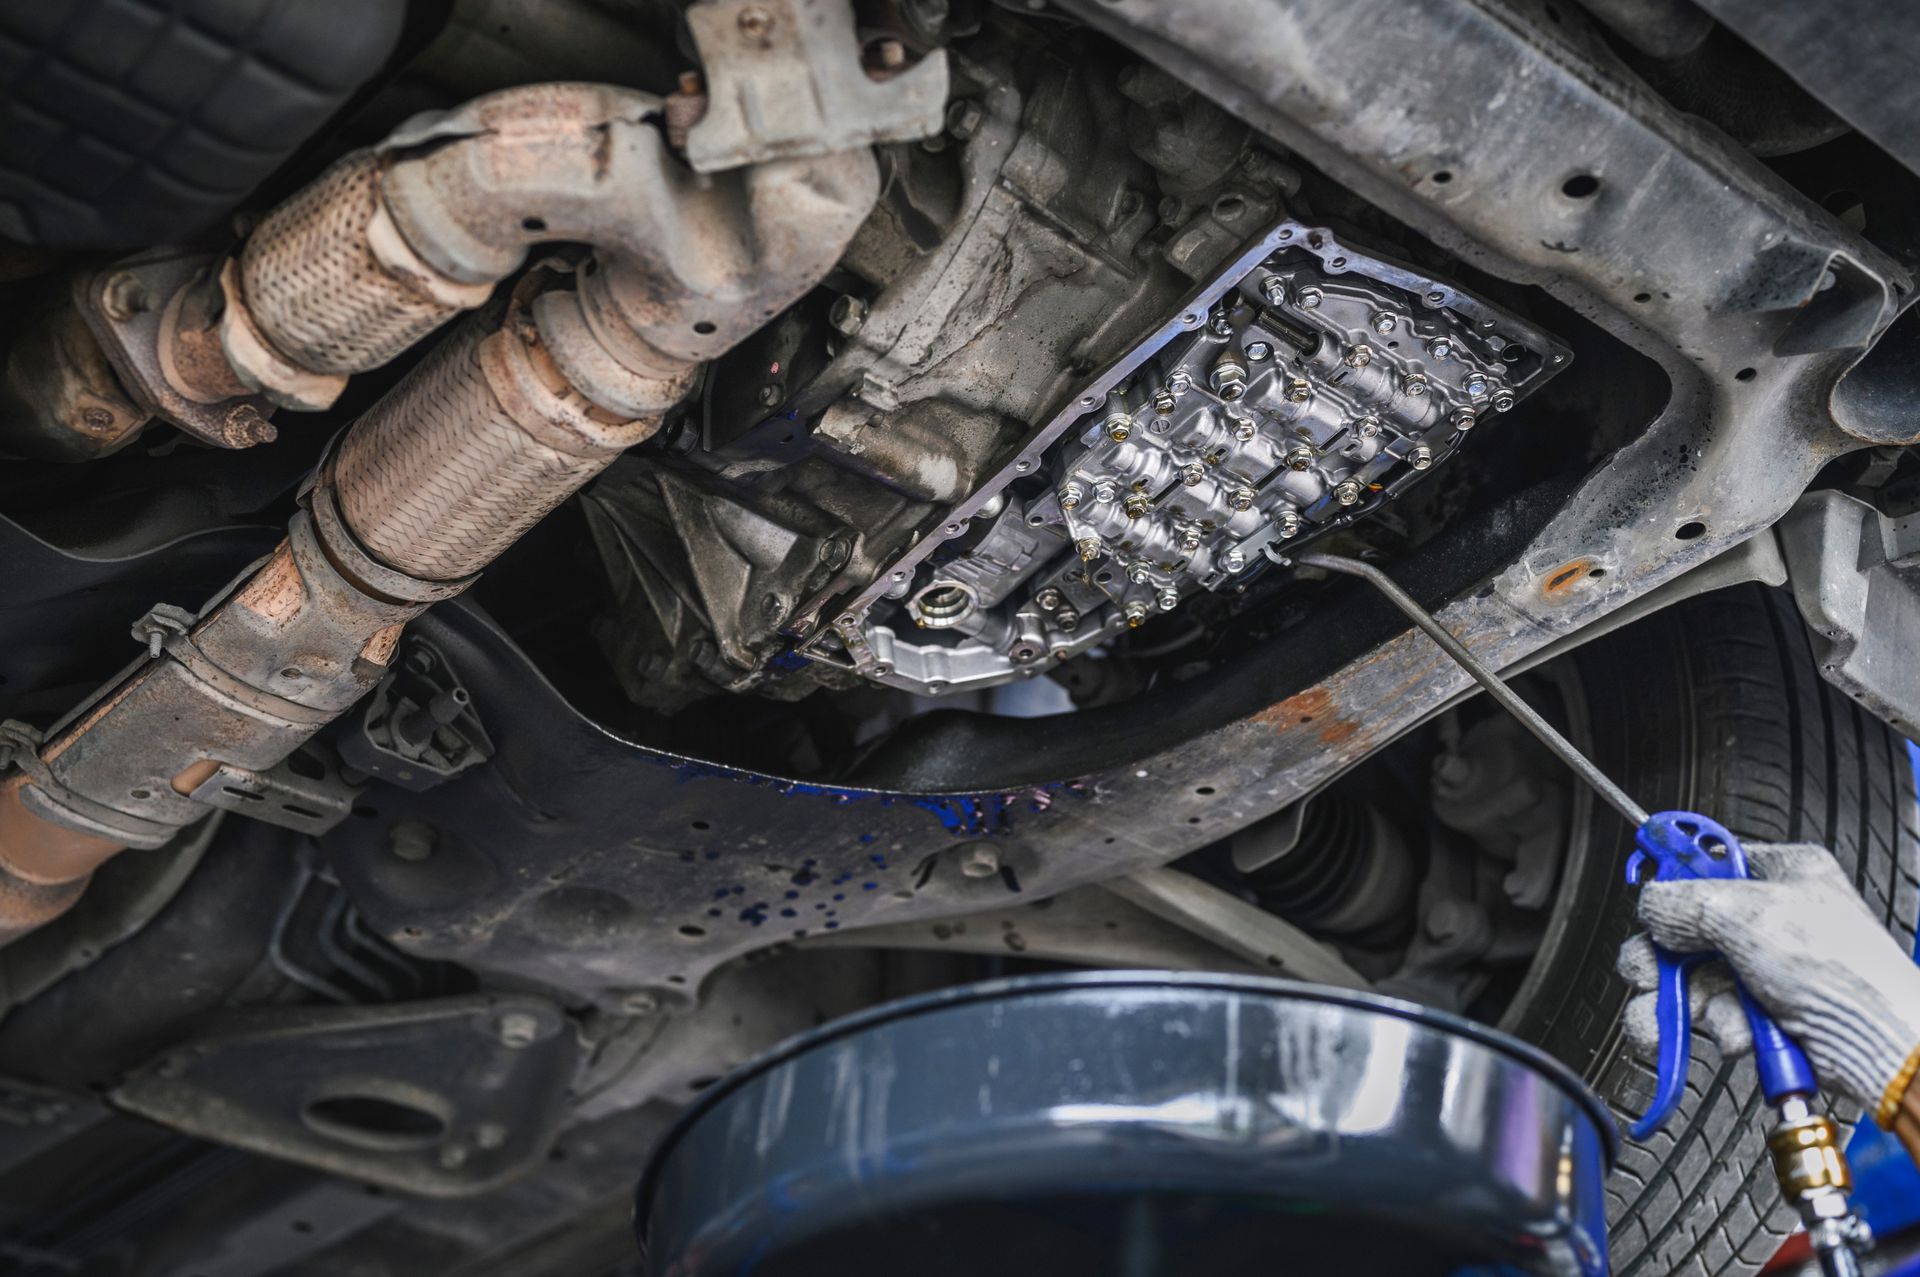
Transmission Flush: Why It’s Necessary and Its Benefits for Long-Term Vehicle Health in Columbia, SC
Transmission Flush: Why It’s Necessary and Its Benefits for Long-Term Vehicle Health in Columbia, SC Keeping your vehicle in top condition requires more than just regular oil changes or tire rotations. One often overlooked yet vital maintenance task is a transmission flush. Think of your vehicle’s transmission fluid as the lifeblood that ensures smooth operation.